Every time I do something in a skillet, I want to tell you all this side light information, and I think I'm getting redundant. Redundancy is inefficient. Hello separate post to link to in the future, welcome to the past. Unless I link this for past posts to which it applies, which in that case, welcome to the future.
Yes. Skillet stuff.
Exhibits that follow:
A. Preheating skillet
B. Oiling skillet
C. Why bother?
D. Why I like Olive Oil
E. Technique notes
F. That nifty airflip technique.
A.) Preheating skillets is a step I often try to skimp on and then I regret. You'll benefit by knowing what this step is doing for you.
--Preheat before oiling skillet (If you are using an oil with a very high smoking temperature you can cheat here a bit)
--A properly heated skillet will immediately sizzle a drop of water, which you can drip from your fingers.
B.) Once skillet is properly heated as above, it is time to properly oil it.
--I do an oil prep first even if the recipe calls for butter in the pan, it reduces scorching and burned butter.
--Amount of oil is usually about 2 Tablespoons per 12 inch width of pan, if you need the measurements. Eventually you won't need to measure.
--You'll want to spread the oil to evenly coat the entire pan surface. Do this by tilting the pan in all directions until the oil has floated onto ever part of the surface.
--Now, if the recipe calls for butter, now add and melt the butter and repeat the spreading method.
C.) Why bother with the above?
--Cooking oil on a cold frying surface will not prevent sticking. If you've ever had to scrape your pan-fried food off the skillet by brute force, this is the most likely reason for that to have happened.
D.) I prefer olive oil for everything, I don't buy any other kind of oil.
--It keeps kind of forever, other oils I used to keep around would quickly go rancid.
--It has a nice high smoking temperature so it's less likely to burn, stink the place up and ruin your food.
--Folks who know seem to think it's a healthier choice
--Very affordable
--I sure can't tell the difference in taste when I bake with it, and neither can anybody else I feed. I use it in sweets like cookie and cake recipes and people can't believe it when I tell them those have olive oil.
E.) Here is some random technique-ish stuff.
--Take extra care about it spitting. I've had hot oil spit into my eye, which actually was not the worst thing and not near as bad as it sounds, but it sure wasn't fun either. Oil is most likely to spit when a cold food is first placed on it (take care when flipping things), or if your lifter is wet (dry your metal or teflon spatula well before using).
--You can use more oil if you want, you can preheat the skillet on high then reduce heat for oil application.
--Taking care to break the edges free, before each side of your food is done cooking, really makes the job of flipping stuff over easier than you would imagine. As soon as you see the edges crusting a bit, just slide the lifter under all the edges and leave the middle alone. If you've done this well, the food may start to slide around in the pan, which is exactly what you want.
F). So you want your food to fly? Here is the air flip technique.
--If you want to do that trick you see with flipping eggs and pancakes in the air, use the high heat preheat, additional oil, and edge lifting (all mentioned in E, above). Also use a smaller than usual frying pan with nicely curled sides, the sides should come to nearly vertical rather than end at a 45 degree angle.
--This requires hand eye coordination, so make sure you have some of that, too.
--Do only one item/serving at a time. Don't try to flip two pancakes at once, for example, they'll bounce off each other and go in the wrong directions.
--Making small circles with the pan, ensure that the pan fried food is floating freely, if not, break it free with the lifter and retest.
--The next few steps all happen within a split second.
--Once it's sliding freely in the pan, slosh the contents of the pan forward.
--When the food is slid halfway up the lip of the pan, snap the pan upward so that the food is now airborne. Gently now, we're not going for massive height here, not until you've practiced a lot. About an inch or two in the air will be the exact right to get the job done. Once you've succeeded at the lower altitude then you can try for more height gradually.
--If you've not done enough of an upward snap, the food will fold over on itself. If you've hardly done any upward snap, your food may drape over the edge of the pan and need retrieved with the lifter. Either way, that's okay. Cook it that way, flip it with a spatula, and try again next next time with the appropriate adjustment in upward snap.
--Once the food is airborne, reach the pan forward to catch the food again. It will have forward momentum and will fall a few inches forward of where the pan originally was.
--If all of the above went well, you have succeeded!
--If you miss the mark, oops, just let the stove top cool completely before you try to clean. Don't burn yourself.
If you've read what you need, hit the back button to finish the post that brought you here so you can continue with the recipe more thoroughly informed.
Yay!
Saturday, October 20, 2012

Sunday, October 14, 2012
CombODDnation: Butter Cookies
Why goodness, my friend asked for the recipe for this and I realized I'd never posted it! Believe me, I dug for it. Really really thought it was posted up eons ago. This is one of my Coconut Flour recipes.
Don't have coconut flour? Never used it? You'll like the post at this link.
So I was in a danger zone with this batch of cookies, I halved it and I'd not made them in a LONG time. What do you need to know for that statement to make sense? I cook by eyeballing things. Measures are for for final versions or other people, estimates are more my style. So I halved it and forgot to half the Xanthan measurement, so yeah, it didn't hurt anything. Never does. Baking is so much more forgiving than popular sentiment would have you believe.
So much of what goes into my note-card recipes require me remembering what I did.
I couldn't remember why it was ungreased cookie sheets, and tested that, and found out that they burn more on the bottoms when there's grease. These really need parchment paper to completely avoid the singed bottoms, but ungreased does a fine job of sufficiently moderating the effect. I also found out that the rack can't be too low, my lower rack cookies burnt a bit. Still warm and wonderful inside though, so it's not slowing me down.
Here's the corrected recipe card, in that recipe book I've told you about, like a year ago.

And I decided to go ahead and do this one in the old tutorial style just for care sake.
Put your oven racks rather high, and preheat to 300 degrees.
For starters, cream together 1 cup sugar with 2 sticks soft butter.
Here I microwaved these two sticks for 45 seconds, straight out of the freezer, and it worked well. Make sure they're in a bowl or on a plate if your zapping things, or else you'll have a mess.
Also, I had only one stick of unsalted butter left, turns out the salted type melted faster. Go figure.


 So there it is all creamed up. I use dark brown sugar for everything now because I started avoiding refined and fake sugars about a year ago. But you can do a combo or whatever, my original recipe said 1/2 cup brown sugar and 1/2 cup splenda. At any rate, try not to eat too much creamed sugar and butter at this stage. Oh man.
Next, add this stuff:
Required:
1/2 cup whole milk (if using low fat milk substitute, add 1 tsp oil)
2 eggs
1/4 cup shredded coconut or coconut flakes
Recommended:
1 tsp Xantan Gum powder
Optional:
3 Tbs Flax meal
2 tsp cinnamon

And mix it up nice.

Then, gradually sift in 1/2 cup coconut flour.
Hint #1: that gradually part is important. Add some, mix some, repeat.
Hint #2: Make sure your flour sifter hasn't been used for gluten flour without seeing a dishwasher.
 I freeze my coconut flour so it keeps forever. If you do, too, then you'll have clumps at the end and you can smoosh them with your finger then finish the sifting. If you keep your coconut flour at room temperature, this sifting isn't as important. The gradually adding part still is important though, regardless.
 Then add about a cup of chocolate chips - these are semisweet - and stir with your spoon for this last part.
 Then scoop little balls of dough onto an ungreased cookie sheet, like I said, no greasing. I do recommend parchment paper here.

Bake 10-12 minutes, rotate pans, bake another 10-12 minutes.
(Next time I'll put my oven racks much higher.)

Let cool.
 Makes about 3 dozen cookies. If any survive, let cool completely at room temperature, then store them in an airtight container in the refrigerator.
I missed these so much! Om-nom-nom.

Don't have coconut flour? Never used it? You'll like the post at this link.
So I was in a danger zone with this batch of cookies, I halved it and I'd not made them in a LONG time. What do you need to know for that statement to make sense? I cook by eyeballing things. Measures are for for final versions or other people, estimates are more my style. So I halved it and forgot to half the Xanthan measurement, so yeah, it didn't hurt anything. Never does. Baking is so much more forgiving than popular sentiment would have you believe.
So much of what goes into my note-card recipes require me remembering what I did.
I couldn't remember why it was ungreased cookie sheets, and tested that, and found out that they burn more on the bottoms when there's grease. These really need parchment paper to completely avoid the singed bottoms, but ungreased does a fine job of sufficiently moderating the effect. I also found out that the rack can't be too low, my lower rack cookies burnt a bit. Still warm and wonderful inside though, so it's not slowing me down.
Here's the corrected recipe card, in that recipe book I've told you about, like a year ago.

And I decided to go ahead and do this one in the old tutorial style just for care sake.
Put your oven racks rather high, and preheat to 300 degrees.
For starters, cream together 1 cup sugar with 2 sticks soft butter.
Here I microwaved these two sticks for 45 seconds, straight out of the freezer, and it worked well. Make sure they're in a bowl or on a plate if your zapping things, or else you'll have a mess.
Also, I had only one stick of unsalted butter left, turns out the salted type melted faster. Go figure.


Next, add this stuff:
Required:
1/2 cup whole milk (if using low fat milk substitute, add 1 tsp oil)
2 eggs
1/4 cup shredded coconut or coconut flakes
Recommended:
1 tsp Xantan Gum powder
Optional:
3 Tbs Flax meal
2 tsp cinnamon

And mix it up nice.

Then, gradually sift in 1/2 cup coconut flour.
Hint #1: that gradually part is important. Add some, mix some, repeat.
Hint #2: Make sure your flour sifter hasn't been used for gluten flour without seeing a dishwasher.


Bake 10-12 minutes, rotate pans, bake another 10-12 minutes.
(Next time I'll put my oven racks much higher.)

Let cool.

I missed these so much! Om-nom-nom.

Wednesday, October 10, 2012
CombODDnation: Sausage Foldovers (+bonus:organizing)

Then after I thought I had the stuffed sausage idea perfected, something even more yummy happened one day. Sausage foldovers.
Don't worry, clarity will be obtained momentarily. I promise. And the above idea will be clear as day, and then you'll be able to do both stuffed sausage and sausage foldovers. I promise.
But first! Yeah, I like doing this whole tangent thing whenever I have your attention. Have you noticed?
Anyways.
Yeah, so, first...
Let's talk about organizing! (Huh? Why?)
Well, I dunno, I'm a really busy person with nary time for keeping up with my trappings and even less motivation on the idea. I like knowing where things should go but I really suck at actually consistently putting them in the spots I've decided on.
Results are that I end up with a sort of broken binary system; seriously: "It's either here, or it's there. No? Maybe either here or there? No. Well then I just don't know where it is, it's lost." If you've ever lost something so well that the house ends up cleaner from the effect of looking for it, then you definitely understand me. If not, then you can ignore me, you don't need my input. Skip to sausage.
So my key to success is making it easy to put things away. My favorite key is having "away" be the same place where something is most frequently used. Second favorite key is labeled bins. I'll show you each then I'll shut up about containers and move on to food.
Labeled bins... pick categories and use your shelves to the max?

Baking supplies has in it...

Spices has in it...

The heavier things go on the lower shelves, or they're darned much a struggle to lift down.
Tea is what it sounds like. Remedies is all basically herbals, vitamins, prescription leftovers, cold remedies and the like. The wooden box is.... actually band-aides. The little one called Measures segues me to the next thing.
Lives where it's used:
I have several sets of measuring thingies. This has been accomplished by clever use of rummage sales. In addition to the bin labeled "measures" which serves as the staging ground for measuring other sorts of what-not, I have several containers of dry stuffs that have a measure that "lives" in there. The most commonly used measure employed for the item is the one destined for this purpose. Tablespoon in the cocoa powder. Cup measure in the corn flour (one with lines on it marking 1/4 and 1/2). Etcetera. It's that simple, really.
Only other thing to say for right now is that I store stuff I use frequently in clear containers so I know when I'm running out of it. Coconut shreds, beans, and popcorn kernels, for example. And, I think I've bored you enough, so...
Yeah, we're back to Sausage. Starting with the spices!
In portions, kneed the ground meat onto the spice plate, folding until the spice is well incorporated. Make several, set them aside.

Smoosh each of these patties very flat on the plate, put a leaf of chard on top, then a dolup of cream cheese on top of that. Fold the meat over to enclose the cream cheese, allow the chard to extend past the now taco-shaped foldover. The picture shows construction clockwise from bottom right :) At the top is a cooked and completed one. Very thin pressed ground meat allows for the foldover to cook at higher temperatures so that the cheeses melt nicely.

Cook on each side for about 15 minutes on oiled skilled medium-low heat. Cook up the extra greens while your at it, they make a great fried greens side dish.

Enjoy! Have fun with it!
Sunday, October 7, 2012
CombODDnation: beet chicken roast

So I made beet chicken. I said something about it in my soft diet post a bit ago. And here it is!

This was so yummy and so simple. Here's what I did.
Stick a chicken in a pan. (Make sure there's not gizzards still in the cavity.)
Cup up beets (these are from my garden) put some in the cavity and the rest in the pan around the chicken.
Pour about 2 cups water in pan. (Make sure not to drown the chicken because the beets make it so red that the submerged parts will be hard to tell if they are fully cooked, you'll have to watch your pop-up timer and also cut into the above-beet-water part of the bird to test for done-ness.)
Drizzle with molasses (optional, nice touch.)
It'll look like this and be ready to stick in the oven.

So, my joy of cooking says cook at 400 degrees until thigh registers at 180 degress, which for a 4 pound bird is 55-65 minutes, plus 8 minutes for each additional pound.
So that's what I did. This was a 5lbs bird so I cooked at 400 degrees for an hour-10.
And cutting into it, it looks gorgeous, except that it's blurry. Steam. Yup, steam makes for blurry photos. Sorry! Anyways:


CombODDnation: flip-spiced eggs

I've been getting Amish eggs at the farmer's market. Not only do they accept my copiously collected egg cartons (dang do I ever have too many) but these eggs are delicious and the chickens are well kept and I actually get to meet the people who produce them. Basically, I'll be sad in winter when this luxury is no longer right outside my workplace door every Friday. I'm such a sucker for convenience it's downright sad.
So I have this lovely little trick for what I call flip-spiced eggs.

Preheat your skillet on low and gather up your spices. Once the egg's on there, you're gonna have to act fast!
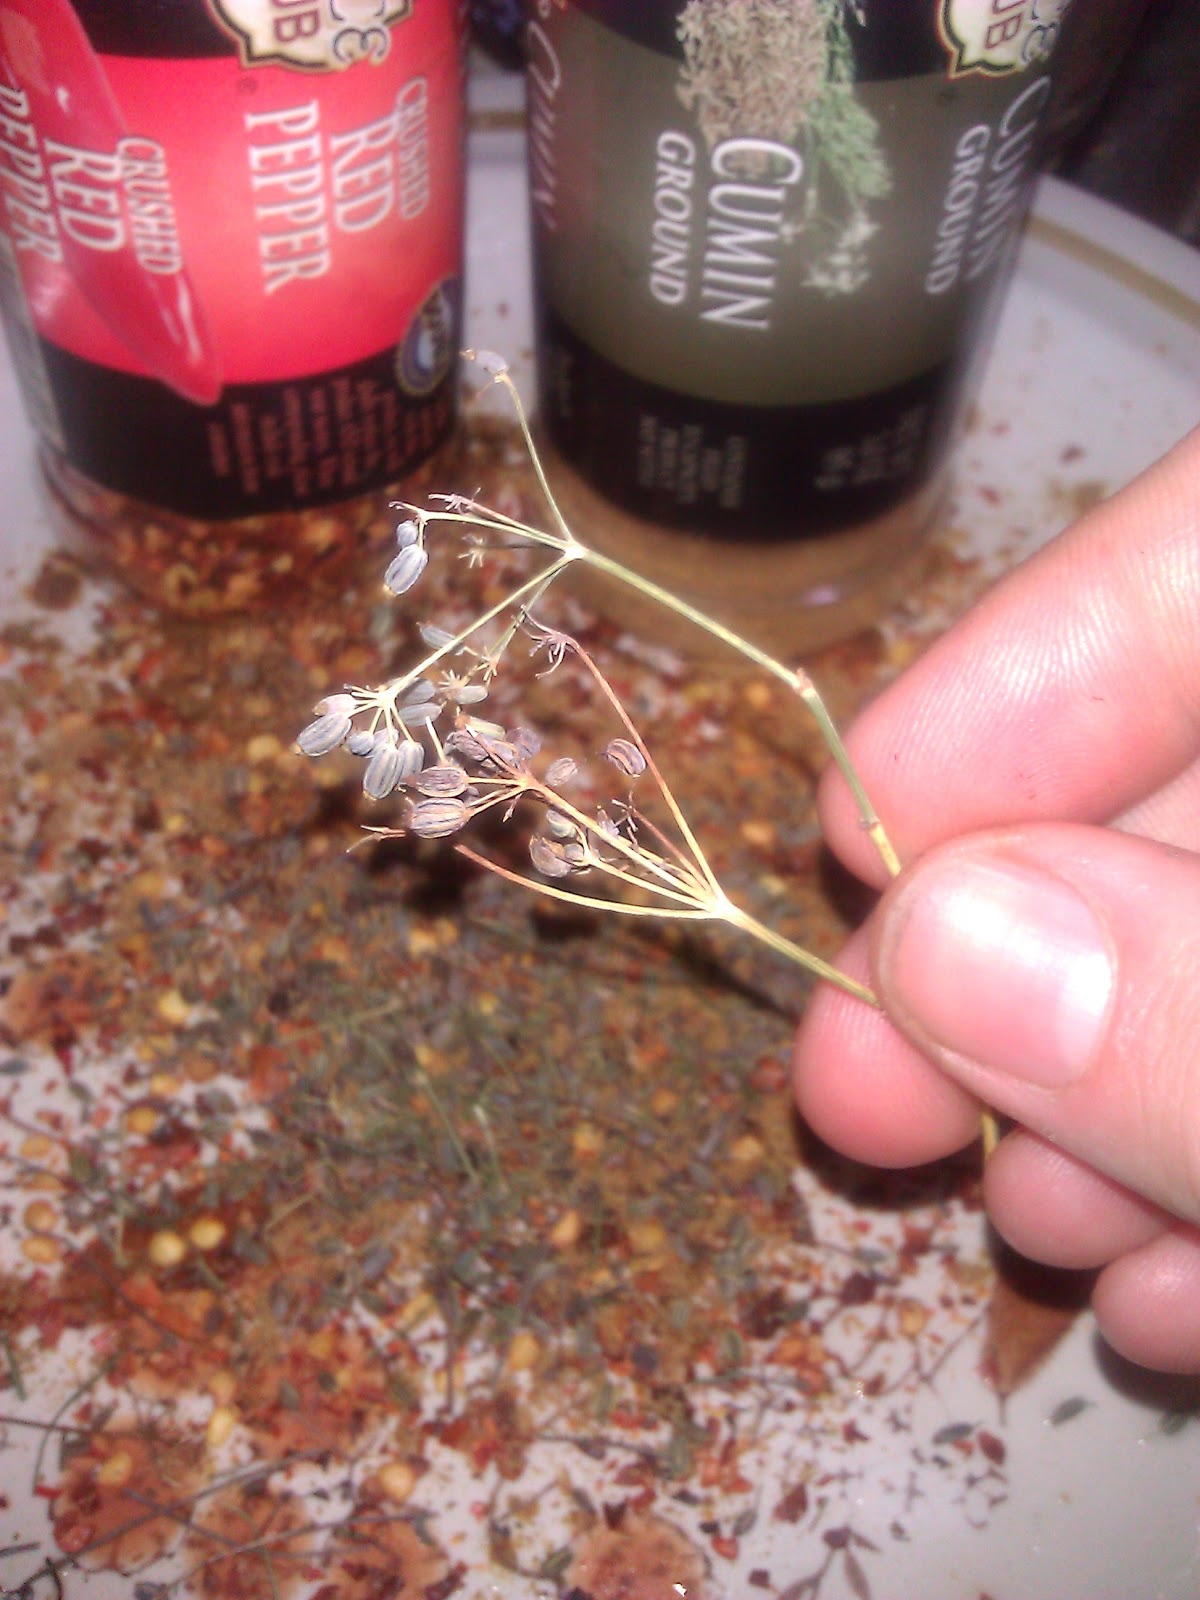
To spice my eggs this time, I used: fresh sliced garden cayenne and whole fennel seeds.
(You can use all kinds of whatever suits your fancy, cumin is fantastic, hot pepper flakes, curry, or whatever you like to have, go for it.)
Whatever you're spicing with, have it ready now, before you get started.
Oil the skillet and spread oil evenly. I use olive oil. Put the egg(s) on.
Now's the time to ACT FAST: put your spices on your egg before it cooks.

If you don't like runny eggs, you have the option to cut the yoke now, which I did on my second batch to show you.

Doing more than one egg will require you to divide the eggs before you can flip it, which is easy peasy to do. Just use your flipper to draw a line down the middle and they're separated to flip one part at a time.
Now flip the egg over when the middle starts to look mostly well done.


Wasn't that easy? Enjoy!
Subscribe to:
Posts (Atom)